You’ve done your research. You know Level 2 charging is faster, more cost-effective, and more reliable than the standard outlet or public alternatives. But there’s still one lingering question:
How hard is it to install a Level 2 charger at home?
Here’s the good news: For most homeowners, it’s surprisingly simple and often more affordable than you think. But there are a few things worth knowing before you schedule your install. In this post, we’ll walk through what the installation process actually looks like, how to prepare, and what decisions you’ll need to make along the way.
Start with a Basic Reality Check: Can Your Home Support It?
Level 2 chargers run on a 240-volt circuit which is the same voltage used for large appliances like dryers or ovens. Most homes already have the infrastructure to support this, but the real question is whether your electrical panel has enough capacity for an additional circuit.
If your home was built or upgraded within the last 20 years, chances are you’re in the clear. If not, your installer may recommend a small panel upgrade. It’s not a dealbreaker. It just means there might be one extra step before your charger is good to go.
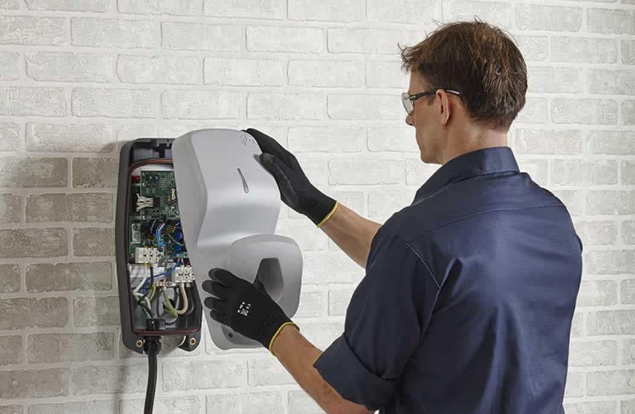
Installation Isn’t DIY, and That’s a Good Thing
While some consumer electronics are designed for self-installation, EV chargers aren’t one of them. Installing a 240V line requires a licensed electrician, and for good reason: it’s not just about plugging something in. It’s about ensuring safety, code compliance, and long-term reliability.
A licensed installer will:
- Evaluate your home’s electrical capacity
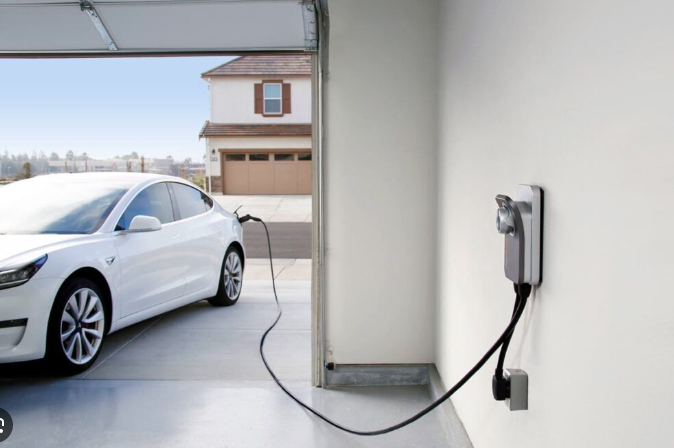
- Identify the best location for your charger (indoor or outdoor)
- Run a dedicated 240V line and install a breaker if needed
- Mount the unit and test it for functionality and safety
- Pull any permits required by local code (and close them)
In most cases, the job takes just a few hours, and your charger is live the same day.
The Cost Question: What Should You Expect to Pay?
Installation costs vary based on your home’s layout and existing electrical setup. A standard installation (no upgrades or trenching) usually ranges from $500 to $1,200, including labor and basic materials.
If you need a panel upgrade or your charger location is far from the main electrical box, the cost can go up. However, you’ll often recoup those expenses through available incentives and energy savings within the first year or two.
Here’s the part most people overlook: There are thousands of dollars in potential rebates and tax credits available depending on your zip code, utility company, and state. Many homeowners qualify for a 30% federal tax credit on installation and charger hardware, and utility programs across the country offer additional rebates.
The Real Installation Timeline
- Day 1: Choose your charger and request a site evaluation (often done virtually).
- Day 3–5: Installer visits your home and confirms requirements.
- Day 7–10: Installation takes place.
- Day 11: You’re charging like a pro.
All told, from decision to plug-in, the process usually takes under two weeks. And once it’s done, it’s done. There’s no maintenance required, no subscription fees, and no learning curve, just seamless charging on your schedule.
So, Is It Worth It?
If you plan to keep your EV for more than a year, or if you drive it regularly, the answer is yes. A Level 2 charger isn’t just a convenience. It’s a long-term upgrade to your driving experience.
You’ll spend less time thinking about where and when to charge, and more time enjoying the open road (or at least your commute) with peace of mind. For most drivers, that’s worth far more than the installation cost.
Next up in Part 4: How a Level 2 Charger Can Increase Your Home Value and Future-Proof Your Property.